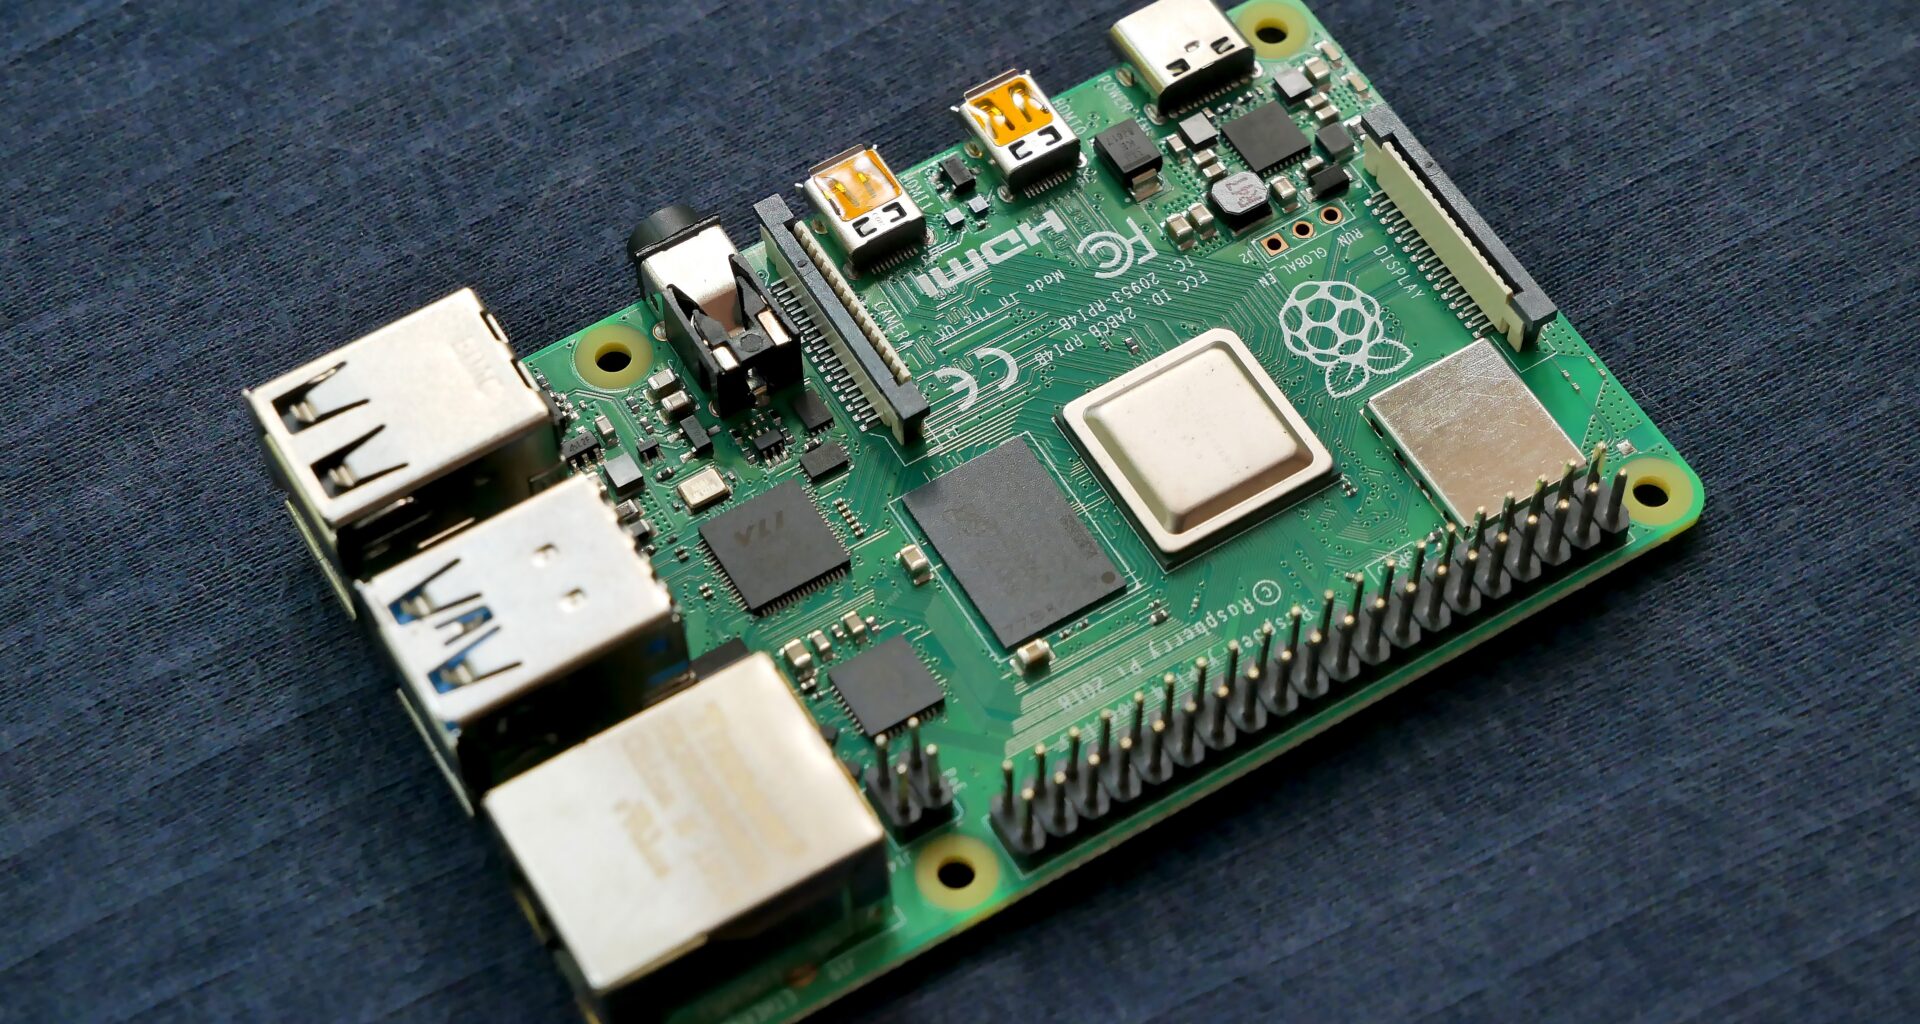
Running a Bitcoin node on a Raspberry Pi is a great way to support the decentralised network and help to secure the blockchain. A Bitcoin node is a piece of software that allows you to validate and propagate transactions on the network. By running a node, you can help to ensure that the Bitcoin network remains decentralised and robust. Here are the steps to set up a Bitcoin node on a Raspberry Pi.
- Start by purchasing a Raspberry Pi and an SD card, with at least 8GB of storage capacity.
- Next, you will need to install an operating system on the Raspberry Pi. You can use Raspbian, a version of Linux that is specifically designed for the Raspberry Pi. You can download Raspbian from the Raspberry Pi website and install it on the SD card following the instructions provided.
- Once the operating system is installed, connect the Raspberry Pi to your network and power it on.
- Next, you will need to install the Bitcoin software on the Raspberry Pi. You can do this by using the command line to download and install the software. You can use the command
sudo apt-get install bitcoindto install the software. - After the installation is complete, you will need to configure the Bitcoin software. This can be done by editing the configuration file, which is located at
~/.bitcoin/bitcoin.conf. Here you can set various options, such as the maximum number of connections and the location of the blockchain data. - Once the configuration is complete, you can start the Bitcoin software by running the command
bitcoind. This will start the node and begin downloading the blockchain data. - You can monitor the progress of the blockchain download by running the command
bitcoin-cli getblockchaininfo. This will give you information about the current block height and the percentage of the blockchain that has been downloaded.


